Search posts
Explore topic


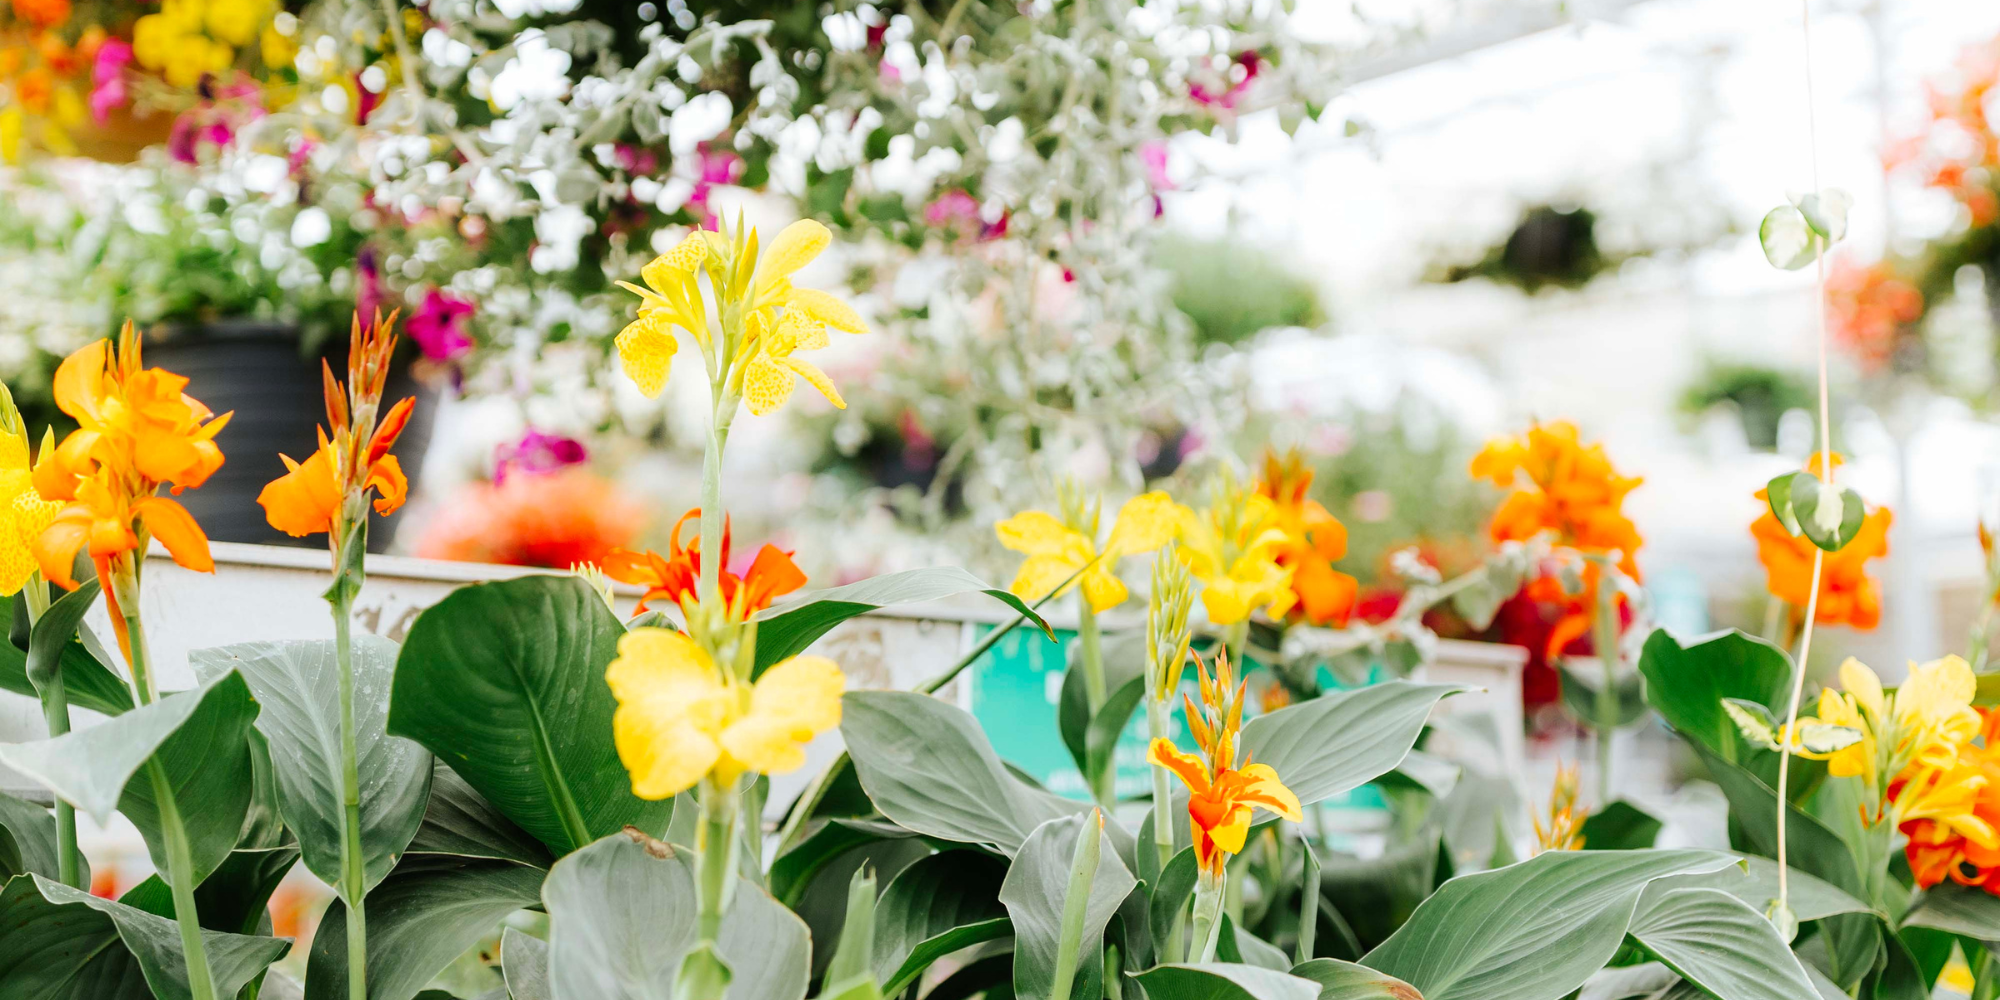
As I was saying: your cannas are huge and beautiful! Some varieties of canna are over five feet tall – or taller! – even in Saskatchewan’s short growing season. Like me, I imagine most of you struggle with the concept of throwing out a perfectly good plant. It seems logical, then, to simply bring the canna inside and treat it like a houseplant until next summer … right?
Unfortunately, you would be incorrect in that assumption.
I know this appears to contradict the advice we give to gardeners: we say, use banana plants, birds of paradise, oleanders, and ferns in your outdoor planters! Bring them in right before the fall and have them last until next year. We are big fans of a plant investment! This will work for those tropicals, but not for cannas.
Trust me, I’ve tried.
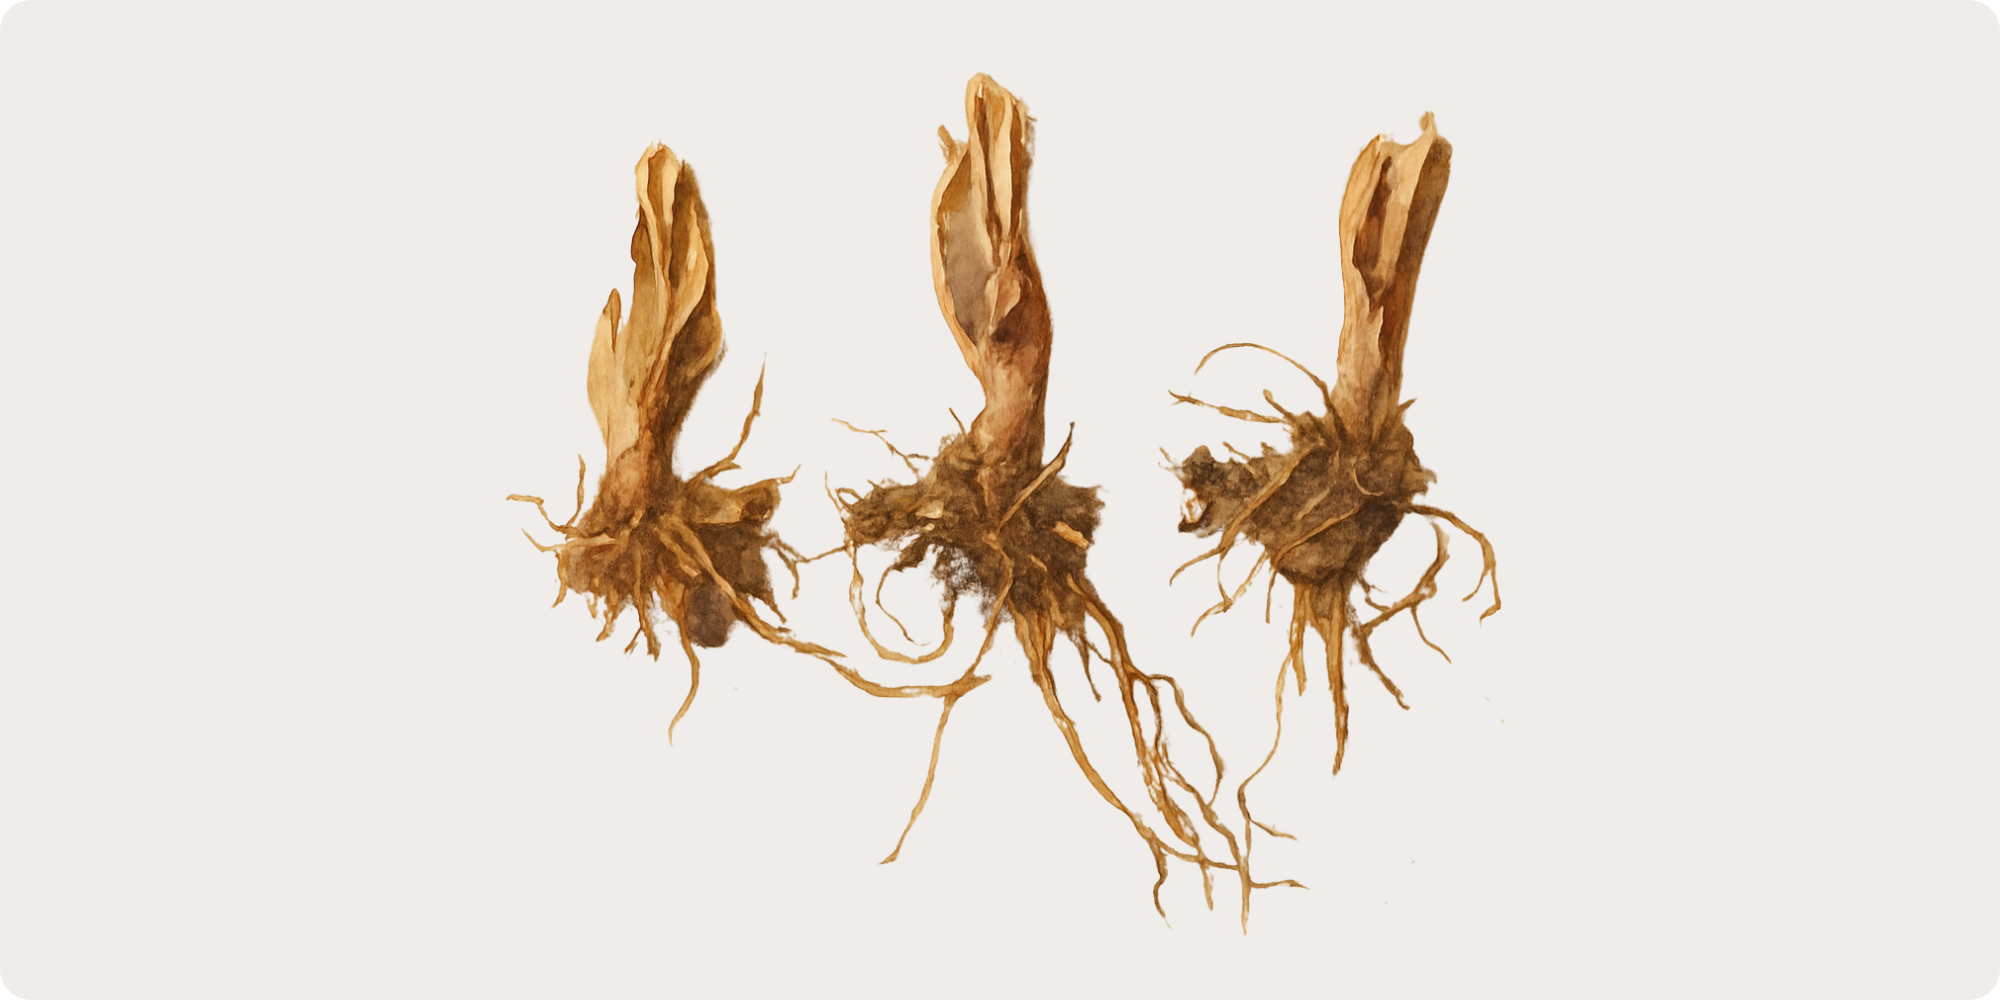
Therefore, dear plant friends, please learn from my mistakes: your cannas will benefit if you think of them as a bulb. Like tulips, their cellular information is contained within a rhizomatic structure, so maintaining the entire plant actually doesn’t save it in the long run: if you leave the leaves of a canna, the bulb does not rebuild its energy source. If it can’t rebuild that energy source, it will not produce flowers the following year. Cannas – and by extension, their bulbs – have adapted to need a break between growing seasons. They require a rest where they are inactive so that they can give you that huge flowering “bang!” that you love.
.png)
Here are the steps to get your cannas ready:
And that’s it for storage!
When you are ready to plant your bulbs in the spring, pour them out and look for spoiled pieces (as in Step 6 above). Plant your bulbs in small pots of fresh soil to be transplanted later if you want to get a head start, or plant them straight in the ground when the overnight temperatures are consistently above freezing.
You’ll thank us when your cannas look glorious next year, too!
.png)
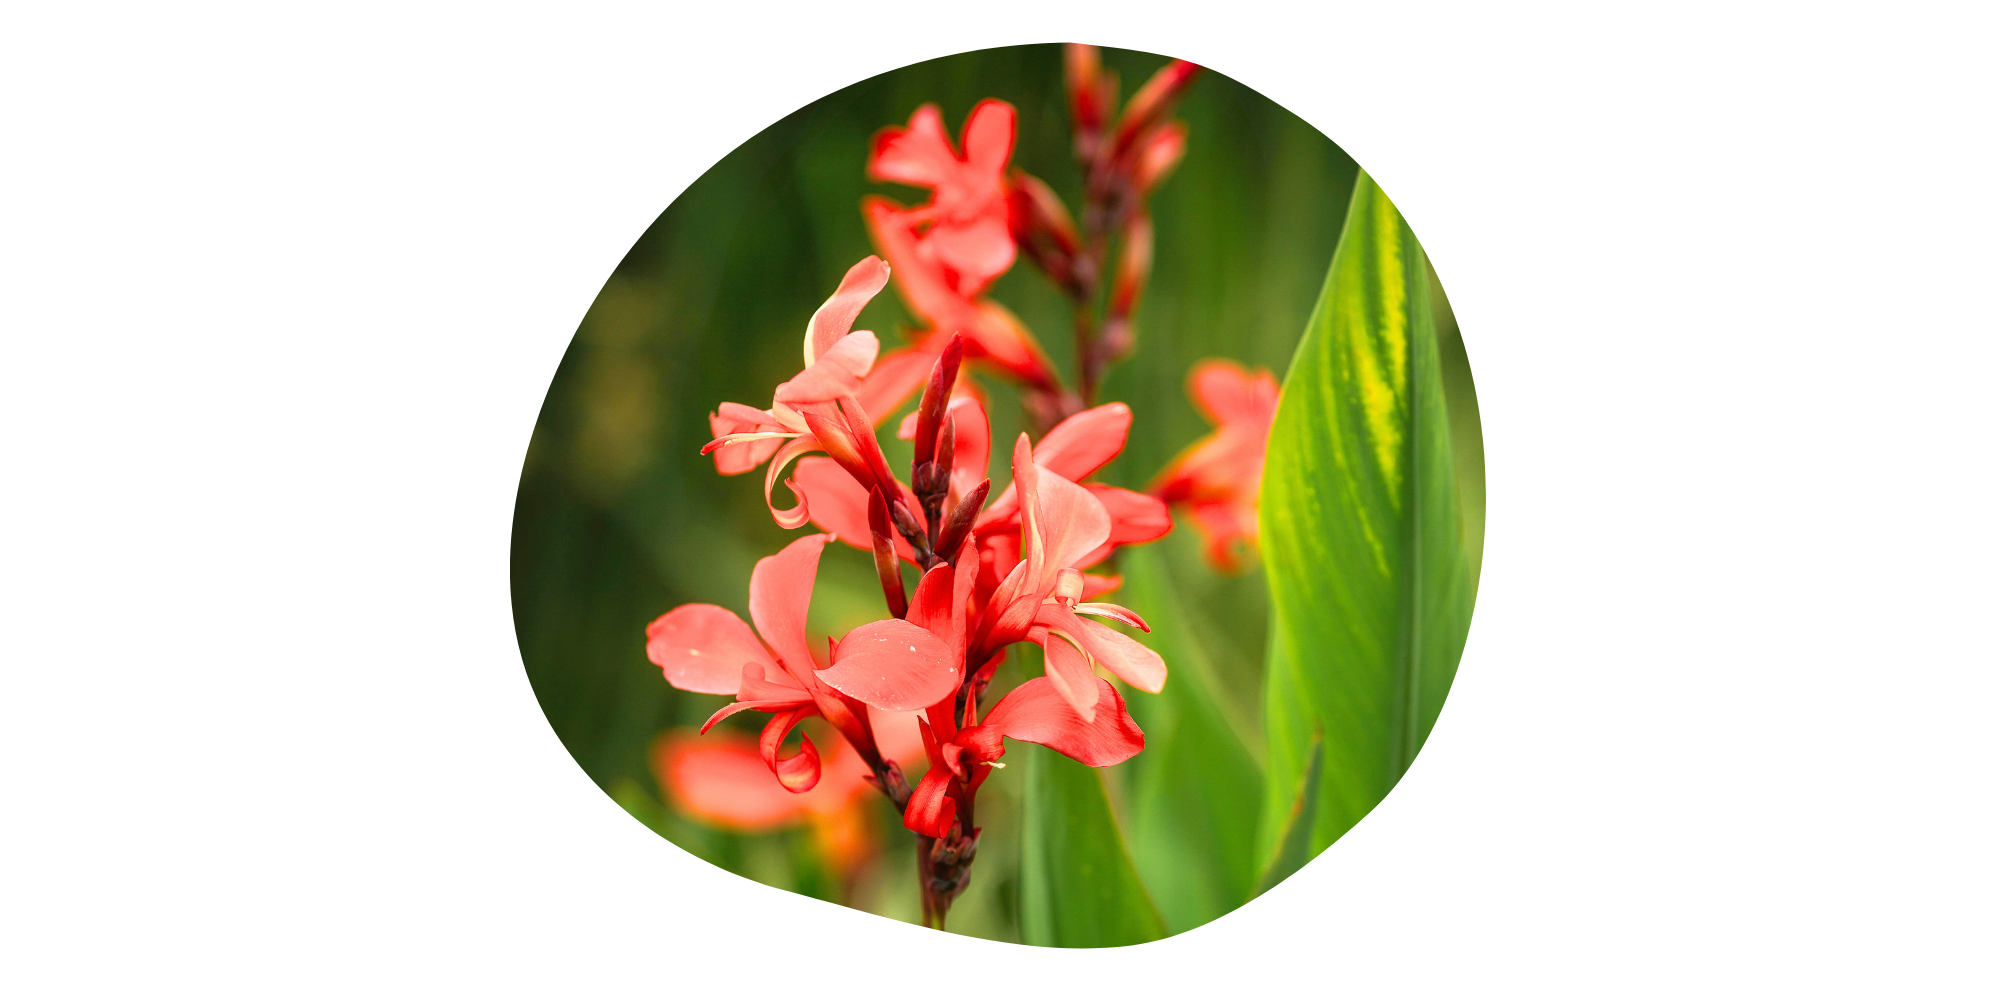
So, it’s nearing the end of summer, and your cannas have never been more beautiful. They’ve flowered all summer long, and their leaves are bushy, healthy, and green. It seems like such a shame to toss them in the compost bin, doesn’t it? We agree! We have some helpful steps for how to conserve your canna bulbs so they will grow next year, too.
So, it’s nearing the end of summer, and your cannas have never been more beautiful. They’ve flowered all summer long, and their leaves are bushy, healthy, and green. It seems like such a shame to toss them in the compost bin, doesn’t it? We agree! We have some helpful steps for how to conserve your canna bulbs so they will grow next year, too.
As I was saying: your cannas are huge and beautiful! Some varieties of canna are over five feet tall – or taller! – even in Saskatchewan’s short growing season. Like me, I imagine most of you struggle with the concept of throwing out a perfectly good plant. It seems logical, then, to simply bring the canna inside and treat it like a houseplant until next summer … right?
Unfortunately, you would be incorrect in that assumption.
I know this appears to contradict the advice we give to gardeners: we say, use banana plants, birds of paradise, oleanders, and ferns in your outdoor planters! Bring them in right before the fall and have them last until next year. We are big fans of a plant investment! This will work for those tropicals, but not for cannas.
Trust me, I’ve tried.
Therefore, dear plant friends, please learn from my mistakes: your cannas will benefit if you think of them as a bulb. Like tulips, their cellular information is contained within a rhizomatic structure, so maintaining the entire plant actually doesn’t save it in the long run: if you leave the leaves of a canna, the bulb does not rebuild its energy source. If it can’t rebuild that energy source, it will not produce flowers the following year. Cannas – and by extension, their bulbs – have adapted to need a break between growing seasons. They require a rest where they are inactive so that they can give you that huge flowering “bang!” that you love.
Here are the steps to get your cannas ready:
And that’s it for storage!
When you are ready to plant your bulbs in the spring, pour them out and look for spoiled pieces (as in Step 6 above). Plant your bulbs in small pots of fresh soil to be transplanted later if you want to get a head start, or plant them straight in the ground when the overnight temperatures are consistently above freezing.
You’ll thank us when your cannas look glorious next year, too!


Overwinter Canna Bulbs: Yes, You Canna!
So, it’s nearing the end of summer, and your cannas have never been more beautiful. They’ve flowered all summer long, and their leaves are bushy, healthy, and green. It seems like such a shame to toss them in the compost bin, doesn’t it? We agree! We have some helpful steps for how to conserve your canna bulbs so they will grow next year, too.

SOCIAL MEDIA
