
Search posts
Explore topic


Have you ever wondered how designers get their Christmas trees looking so full, balanced, and effortlessly beautiful? We're sharing some of our favourite decorating tips and tricks to help you achieve that professionally styled look right at home.
And here's a little secret: It's all about the layers!
Before you even think about ornaments, ribbon, or lights, the very first thing you should do when taking your artificial Christmas tree out of the box is fluff it!
This is one of the most important (and often overlooked) steps in decorating a Christmas tree.
Artificial trees spend most of the year compressed in storage, leaving branches flattened and gaps throughout the tree.
Start at the bottom and work your way up, separating each individual branch and bending the tips in different directions. You want to create as much fullness and dimension as possible.
Designer Tip: Don't just fluff the branches facing outward! Make sure you're spreading the interior branches too. This helps fill gaps and gives your tree that lush, full appearance before you've added a single decoration.
If your tree isn't pre-lit, it's time to add some sparkle!
One of our favourite rules of thumb is to use at least 100 lights per foot of Christmas tree.
For example:
Of course, if you love a tree that really glows, don't be afraid to add more!
When adding lights, don't just wrap them around the outside of the tree. Weave them in and out of the branches, working from the trunk toward the tips. This creates depth and allows your tree to glow from within rather than just around the edges.
Designer Tip: Warm white lights create a classic, cozy Christmas atmosphere, while brighter white lights can give your tree a crisp, modern appearance. Choose lighting that complements your overall Christmas theme.
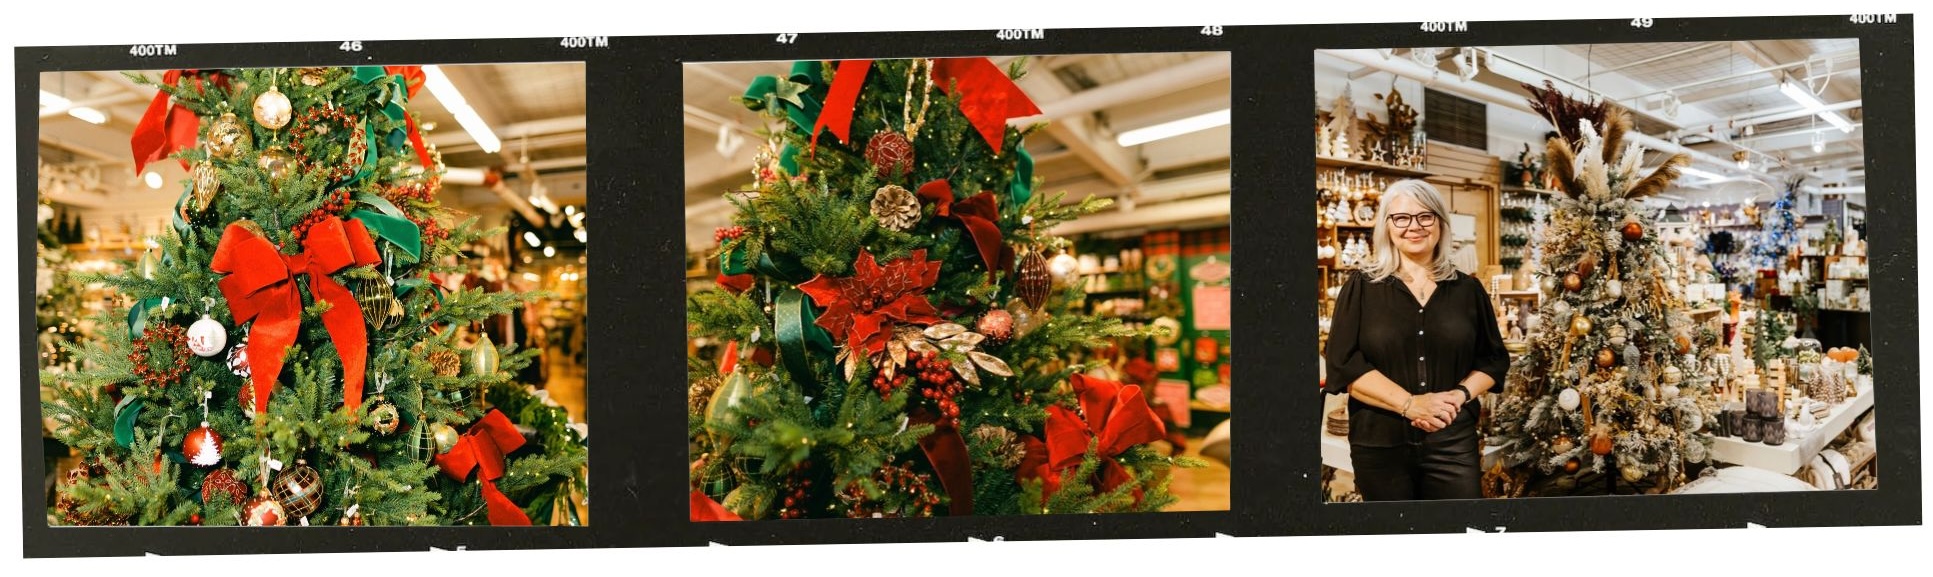
Here's where the magic really starts!
One of the biggest differences between an everyday Christmas tree and a designer Christmas tree is the use of decorative picks and stems.
Picks add texture, movement, height, and dimension. They can also help fill empty spaces and create a fuller, more luxurious appearance.
Think frosted greenery, glittering branches, berries, pinecones, eucalyptus, or metallic stems.
For a cohesive look, we recommend selecting approximately 5–7 different styles of picks that complement your Christmas theme.
Rather than scattering every pick randomly throughout the tree, try grouping them together.
Choose approximately three different types of picks and cluster them together to create a statement arrangement.
For example, you could combine:
Arrange these picks together so they fan outward naturally, creating depth and visual interest.
Repeat similar clusters in approximately 4–5 different areas throughout your tree, spacing them out to create balance.
You don't need every cluster to look identical! In fact, varying their placement and direction will make your tree look more natural and professionally styled.
Designer Tip: Place some picks deeper inside the tree and allow others to extend beyond the branches. This creates that beautiful, dimensional look you often see in professionally decorated Christmas displays.
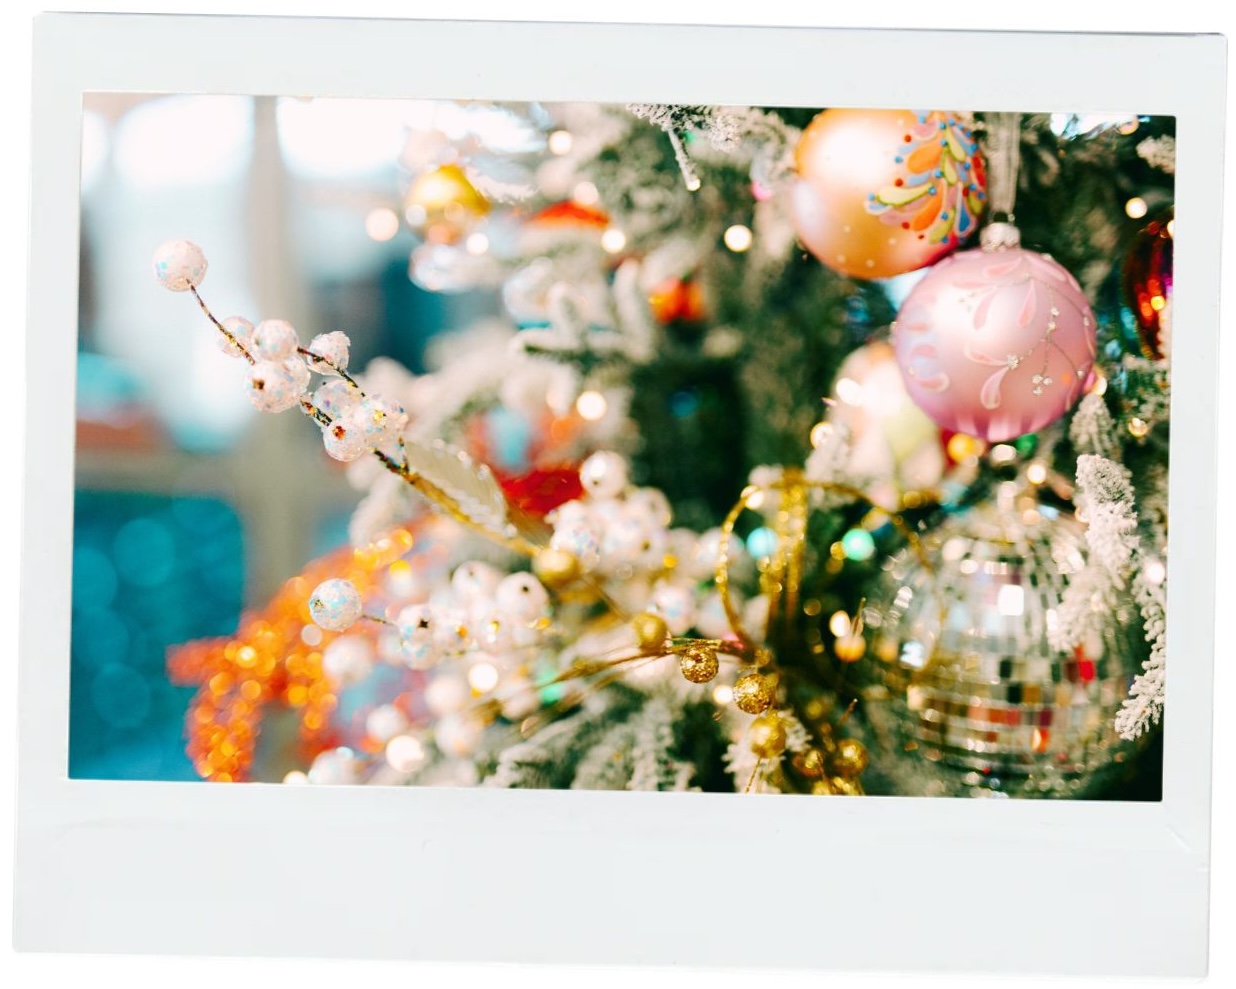
Now that your tree is full, glowing, and layered with beautiful picks, it's time to bring in the larger decorative elements.
We recommend choosing approximately 4-5 different types of statement decorations to incorporate into your tree.
These could include:
These larger pieces help establish your tree's overall style and create focal points that catch the eye.
For example, a traditional Christmas tree might feature rich velvet bows, gold ribbon, oversized ornaments, and touches of red.
A woodland-inspired tree might include natural textures, wooden accents, plaid ribbon, and rustic decorations.
Designer Tip: Don't be afraid to go BIG! Oversized decorations can make a Christmas tree look more luxurious and intentional. Just remember to distribute your statement pieces throughout the tree so one area doesn't feel heavier than another.
It's finally time for the ornaments!
One of the easiest ways to create a cohesive, designer-inspired tree is to work with a carefully selected assortment of ornaments rather than trying to incorporate too many different styles.
We recommend choosing 6-8 different ornament styles that work together within your Christmas theme.
For example, you might choose a combination of:
The secret is to incorporate different sizes, finishes, and textures while maintaining a consistent colour palette.
Begin by placing your largest ornaments throughout the tree. These help establish balance and fill larger gaps.
Next, layer in your medium-sized ornaments, followed by smaller decorations to fill the remaining spaces.
And here's another designer trick: Don't hang every ornament on the outermost branches!
Place some ornaments deeper inside the tree, closer to the trunk. This adds depth and creates beautiful reflections when your Christmas lights shine through.
As you decorate, take a few steps back every so often to see how everything is coming together.
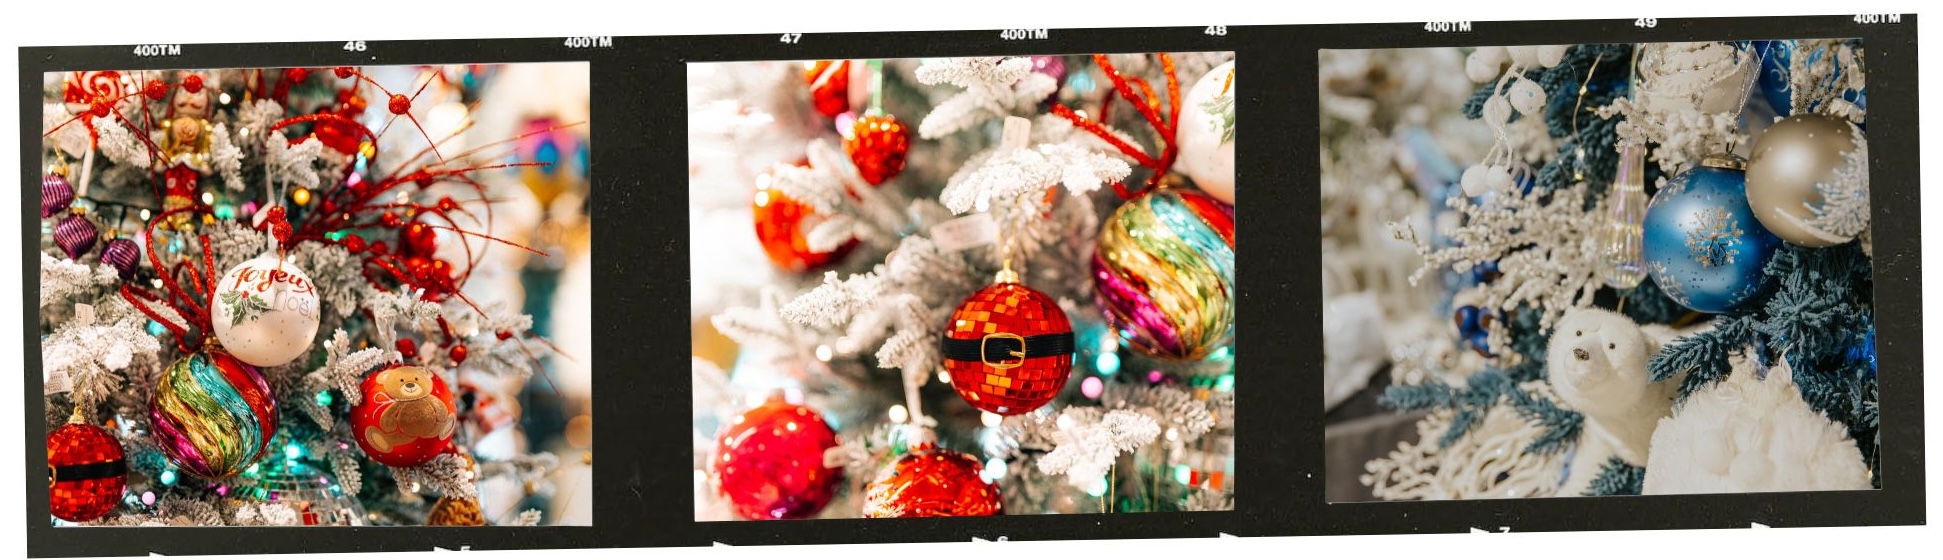
Your tree topper is the finishing touch that brings your entire design together!
While a traditional star or angel is always beautiful, there are so many creative ways to finish a designer Christmas tree.
Consider using a collection of decorative picks, oversized bows, cascading ribbon, or statement branches to create a custom topper.
For a fuller, more dramatic look, arrange several picks together at the top of the tree, allowing them to extend outward and upward.
Try incorporating some of the same picks used throughout the rest of your tree. This creates continuity and ties the entire design together.
Before calling your tree complete, take a few steps back and look at it from different angles.
Are there any empty spaces? Does one area have more decorations than another? Are your colours and textures evenly distributed?
Sometimes all it takes is moving a few ornaments, adjusting a ribbon, or adding another pick to make everything feel balanced.
Remember, a designer Christmas tree doesn't need to be perfectly symmetrical. It's about creating a beautiful, layered look that feels intentional and reflects your personal style.
If there's one thing we want you to remember, it's that a beautifully decorated Christmas tree isn't necessarily about having the most ornaments.
It's about creating depth, incorporating different textures, choosing complementary elements, and layering everything together.
From fluffing your branches to clustering your picks and strategically placing your ornaments, every step contributes to that finished designer look.
And the best part? There are no rules when it comes to expressing your personal Christmas style!
Need a little inspiration for your Christmas tree this year?
Visit us at Dutch Growers in Saskatoon and explore our beautifully decorated Christmas showrooms, filled with inspiring themes, unique ornaments, decorative picks, ribbons, and everything you need to bring your Christmas vision to life.
Whether you're starting from scratch or simply adding a few new pieces to your existing collection, our team is here to help you create a Christmas tree you'll love for years to come.
Happy decorating, from all of us at Dutch Growers!
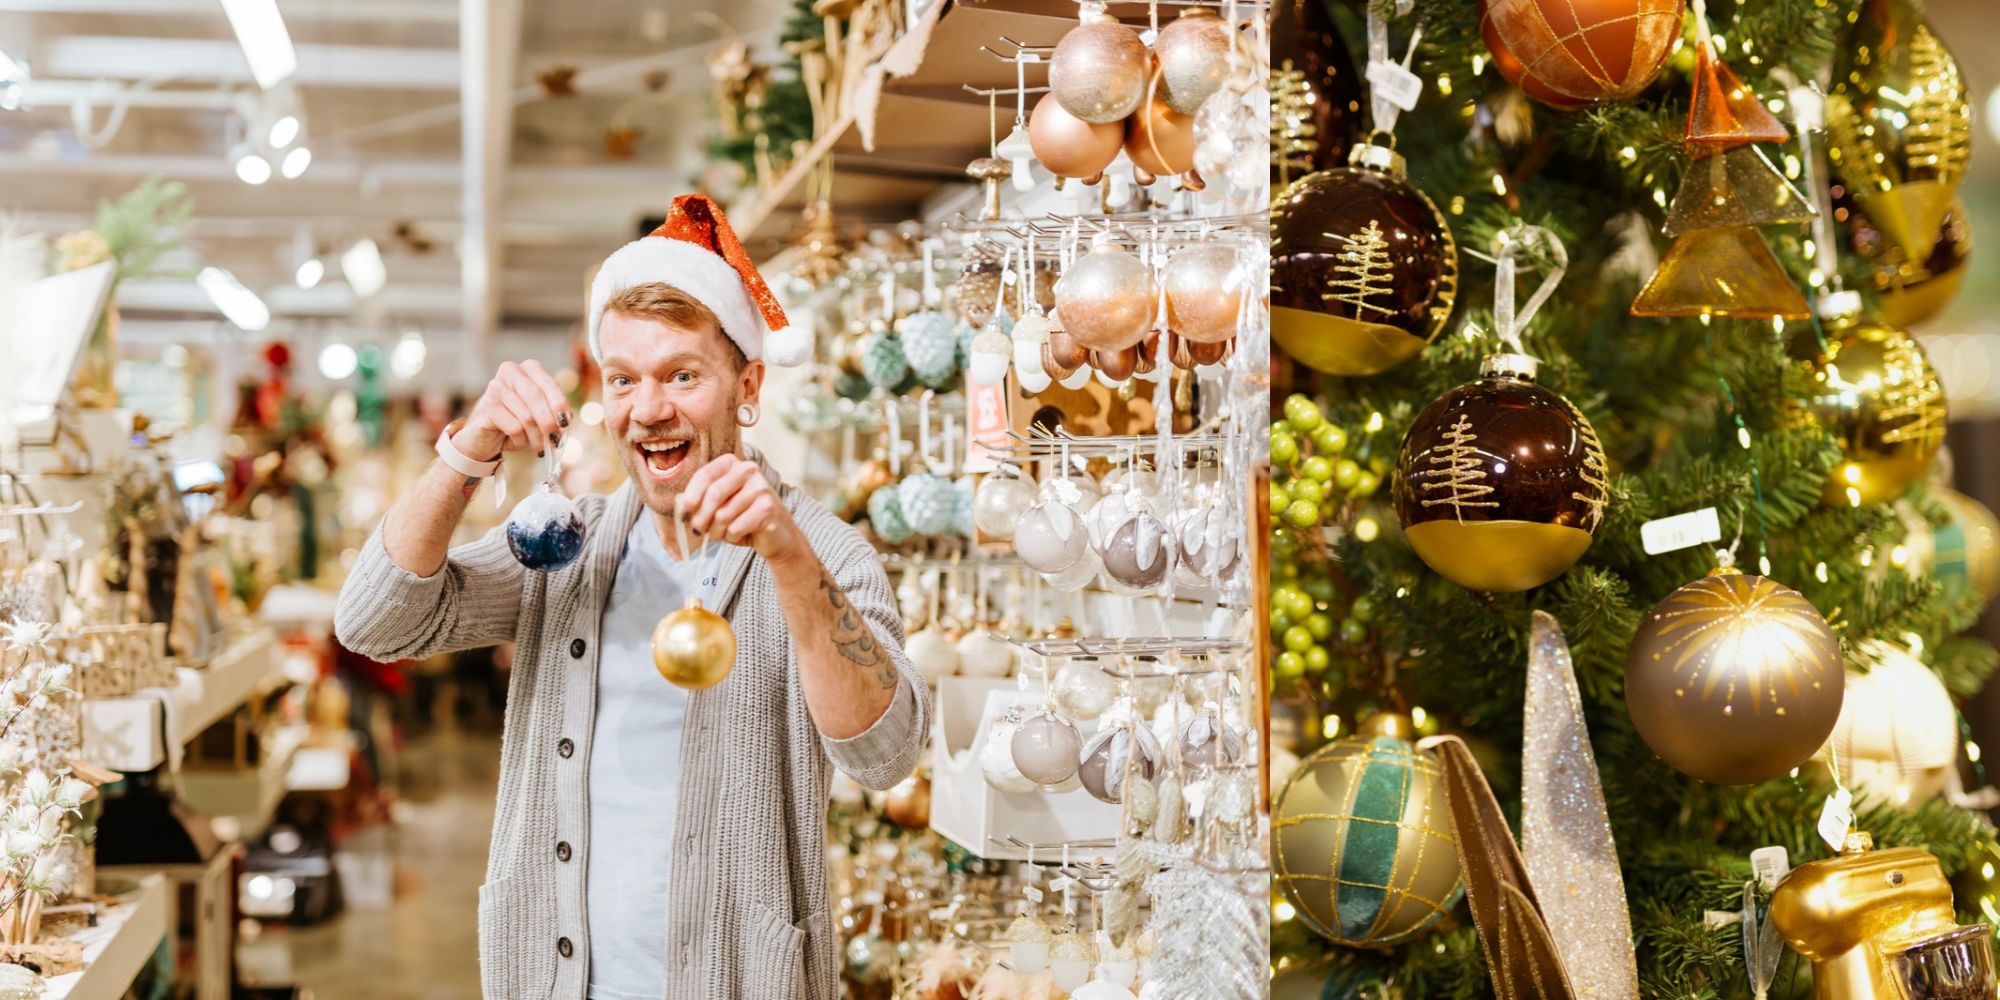
Our Tips & Tricks for Creating a Beautiful, Full, and Professionally Styled Christmas Tree There’s something magical about decorating the Christmas tree. Whether you love a traditional Christmas filled with reds and golds, a rustic woodland look, or a modern tree with elegant ornaments, creating a beautifully styled Christmas tree is all about layering, texture, and a little bit of creativity!
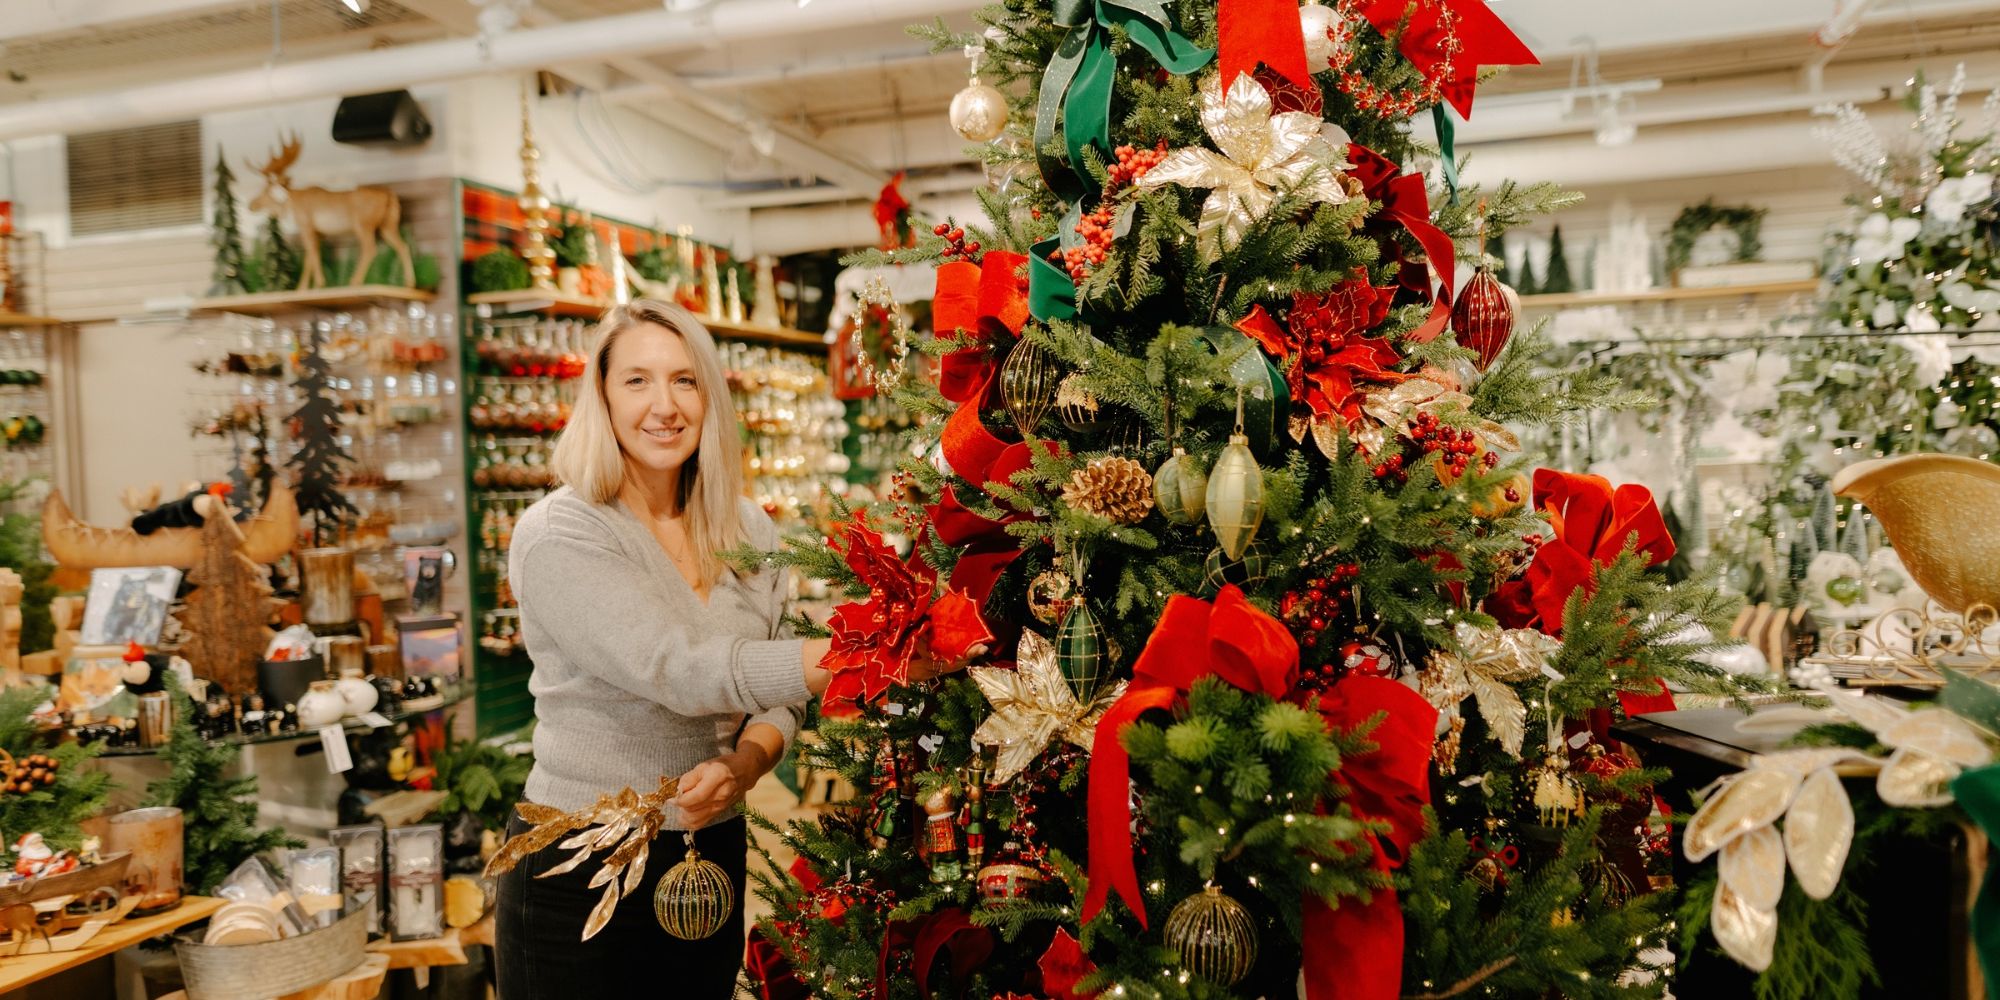
Have you ever wondered how designers get their Christmas trees looking so full, balanced, and effortlessly beautiful? We're sharing some of our favourite decorating tips and tricks to help you achieve that professionally styled look right at home.
And here's a little secret: It's all about the layers!
Before you even think about ornaments, ribbon, or lights, the very first thing you should do when taking your artificial Christmas tree out of the box is fluff it!
This is one of the most important (and often overlooked) steps in decorating a Christmas tree.
Artificial trees spend most of the year compressed in storage, leaving branches flattened and gaps throughout the tree.
Start at the bottom and work your way up, separating each individual branch and bending the tips in different directions. You want to create as much fullness and dimension as possible.
Designer Tip: Don't just fluff the branches facing outward! Make sure you're spreading the interior branches too. This helps fill gaps and gives your tree that lush, full appearance before you've added a single decoration.
If your tree isn't pre-lit, it's time to add some sparkle!
One of our favourite rules of thumb is to use at least 100 lights per foot of Christmas tree.
For example:
Of course, if you love a tree that really glows, don't be afraid to add more!
When adding lights, don't just wrap them around the outside of the tree. Weave them in and out of the branches, working from the trunk toward the tips. This creates depth and allows your tree to glow from within rather than just around the edges.
Designer Tip: Warm white lights create a classic, cozy Christmas atmosphere, while brighter white lights can give your tree a crisp, modern appearance. Choose lighting that complements your overall Christmas theme.
Here's where the magic really starts!
One of the biggest differences between an everyday Christmas tree and a designer Christmas tree is the use of decorative picks and stems.
Picks add texture, movement, height, and dimension. They can also help fill empty spaces and create a fuller, more luxurious appearance.
Think frosted greenery, glittering branches, berries, pinecones, eucalyptus, or metallic stems.
For a cohesive look, we recommend selecting approximately 5–7 different styles of picks that complement your Christmas theme.
Rather than scattering every pick randomly throughout the tree, try grouping them together.
Choose approximately three different types of picks and cluster them together to create a statement arrangement.
For example, you could combine:
Arrange these picks together so they fan outward naturally, creating depth and visual interest.
Repeat similar clusters in approximately 4–5 different areas throughout your tree, spacing them out to create balance.
You don't need every cluster to look identical! In fact, varying their placement and direction will make your tree look more natural and professionally styled.
Designer Tip: Place some picks deeper inside the tree and allow others to extend beyond the branches. This creates that beautiful, dimensional look you often see in professionally decorated Christmas displays.
Now that your tree is full, glowing, and layered with beautiful picks, it's time to bring in the larger decorative elements.
We recommend choosing approximately 4-5 different types of statement decorations to incorporate into your tree.
These could include:
These larger pieces help establish your tree's overall style and create focal points that catch the eye.
For example, a traditional Christmas tree might feature rich velvet bows, gold ribbon, oversized ornaments, and touches of red.
A woodland-inspired tree might include natural textures, wooden accents, plaid ribbon, and rustic decorations.
Designer Tip: Don't be afraid to go BIG! Oversized decorations can make a Christmas tree look more luxurious and intentional. Just remember to distribute your statement pieces throughout the tree so one area doesn't feel heavier than another.
It's finally time for the ornaments!
One of the easiest ways to create a cohesive, designer-inspired tree is to work with a carefully selected assortment of ornaments rather than trying to incorporate too many different styles.
We recommend choosing 6-8 different ornament styles that work together within your Christmas theme.
For example, you might choose a combination of:
The secret is to incorporate different sizes, finishes, and textures while maintaining a consistent colour palette.
Begin by placing your largest ornaments throughout the tree. These help establish balance and fill larger gaps.
Next, layer in your medium-sized ornaments, followed by smaller decorations to fill the remaining spaces.
And here's another designer trick: Don't hang every ornament on the outermost branches!
Place some ornaments deeper inside the tree, closer to the trunk. This adds depth and creates beautiful reflections when your Christmas lights shine through.
As you decorate, take a few steps back every so often to see how everything is coming together.
Your tree topper is the finishing touch that brings your entire design together!
While a traditional star or angel is always beautiful, there are so many creative ways to finish a designer Christmas tree.
Consider using a collection of decorative picks, oversized bows, cascading ribbon, or statement branches to create a custom topper.
For a fuller, more dramatic look, arrange several picks together at the top of the tree, allowing them to extend outward and upward.
Try incorporating some of the same picks used throughout the rest of your tree. This creates continuity and ties the entire design together.
Before calling your tree complete, take a few steps back and look at it from different angles.
Are there any empty spaces? Does one area have more decorations than another? Are your colours and textures evenly distributed?
Sometimes all it takes is moving a few ornaments, adjusting a ribbon, or adding another pick to make everything feel balanced.
Remember, a designer Christmas tree doesn't need to be perfectly symmetrical. It's about creating a beautiful, layered look that feels intentional and reflects your personal style.
If there's one thing we want you to remember, it's that a beautifully decorated Christmas tree isn't necessarily about having the most ornaments.
It's about creating depth, incorporating different textures, choosing complementary elements, and layering everything together.
From fluffing your branches to clustering your picks and strategically placing your ornaments, every step contributes to that finished designer look.
And the best part? There are no rules when it comes to expressing your personal Christmas style!
Need a little inspiration for your Christmas tree this year?
Visit us at Dutch Growers in Saskatoon and explore our beautifully decorated Christmas showrooms, filled with inspiring themes, unique ornaments, decorative picks, ribbons, and everything you need to bring your Christmas vision to life.
Whether you're starting from scratch or simply adding a few new pieces to your existing collection, our team is here to help you create a Christmas tree you'll love for years to come.
Happy decorating, from all of us at Dutch Growers!


How to Create a Designer Christmas Tree: Tips from the Pros
Our Tips & Tricks for Creating a Beautiful, Full, and Professionally Styled Christmas Tree There’s something magical about decorating the Christmas tree. Whether you love a traditional Christmas filled with reds and golds, a rustic woodland look, or a modern tree with elegant ornaments, creating a beautifully styled Christmas tree is all about layering, texture, and a little bit of creativity!

SOCIAL MEDIA


